Showing posts with label DIY. Show all posts
Friday, January 10, 2014
Emilie Sans Chichi round 2... Seriously!
We all like a good DIY, one that make us feel like :" Really?? I can do that??". I've told it before, I am a big fan of the blog Emilie Sans Chichi and I stick to it. I think that the girl behind it is very talented and has a big heart and no, I've never met her. I just have to read her words about her children and see the passion she puts in her DIY to know that she is one of us the crafters. Here I wanted to share with you the bunny doll she has made for her daughter's 5th b'day. She used a pattern from Lieschen Mueller and created the sweetest doll for her baby girl. I have to equally mention the outfits that she made for the doll. So to the lady behind the fantastic blog, congratulations...you rocked it! If you haven't yet, go discover the world of Emilie Sans Chichi.
Monday, December 2, 2013
DIY - Our Advent Calendar 2013
Oh December! Watching the snow flurries fall delicately atop a tree branch while sipping on wine in front of a bright fire... I love this Holiday season. This year again, I attempted to make an advent calendar for both my daughters so they can enjoy it at the same time. They love opening their little surprise and share them at the same moment. For me, it's pure joy to see them do that. Recently, both of them showed an interest in collecting rocks of all sorts so I purchased about 20 rocks of all kind (Pyrite, Tiger eye, Occos, Quartz...) So here we go, I've capture all of the things that I used to make this happen. It was easy but time consuming. As I promised my husband that I wouldn't put a new nail on the wall, I taped all the bags :)
Tuesday, April 23, 2013
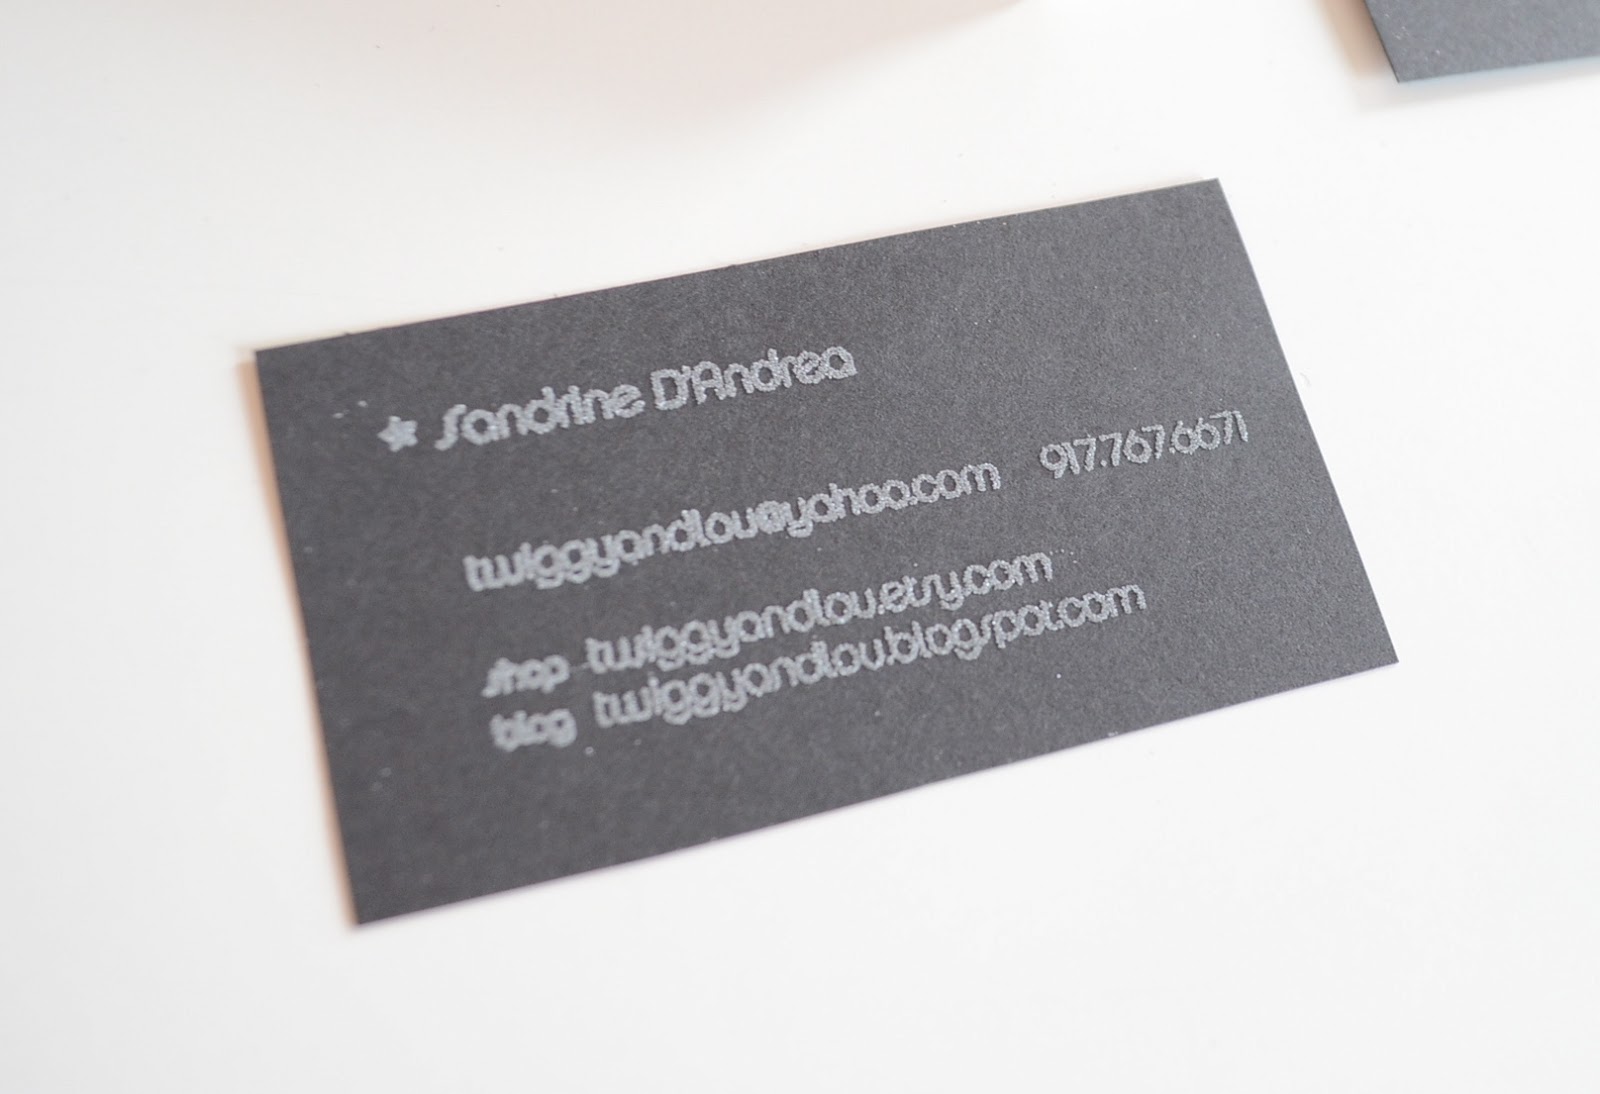
Twiggy and Lou final logo and handmade business cards
When I created Twiggy and Lou, my vision of the brand was limited to my first creations and I had no clear idea about what its image should be. So I opted for a clean and simple logo but nothing that represented me. Now that Twiggy and Lou became a real brand, it is important that my logo reflects my work. Let me tell you that it was not an easy thing but with the help of the right graphic designer and a lot of back and forth, I am now very happy with the final logo design. I wanted something very simple and delicate with a modern feel and it's what I got! Thank you to Robin Freni from Freni Design for working with me on the project. Robin is based in California but doesn't let the miles come in between good communication and execution. I am really pleased with the whole experience and will work with her again as well as recommend her to other business owner out there. She is the real deal :) To check out her work click here.
Once the logo was done, I ordered some custom stamps because I wanted to make my own business cards. Call me crazy but I love handmade things!! Here is a step by step to creating my own cards.
here is all the materials I needed to stamp and emboss my bags and business cards
i ordered some custom stamps but you can go with any design you like
to emboss, I needed a watermark ink pad and some gold and silver embossing powder
the stamps
here the watermark ink pad (sticky ink)
1) stamp the bags
2) sprinkle powder on top of your stamped area
3) tap the bag to collect extra powder
4) dry up the powder now sticked to the ink
dry in seconds
I love the look of embossed symbols or letters
repeat 1 to 4 on business card
back of business card
front of business card
Bags were stamped with fabric ink.
Merci!!
Wednesday, December 26, 2012
Our little Market
I hope that all of you had a beautiful Christmas with your love ones. Ours was very nice and Santa has been very generous with our daughters. As I was telling on my previous posts, I've been working on making the perfect little market for Sienna and Mia-Lou. I have to admit that it was a lot of work because it was made from scratch but oh so worth it. The girls play so well with it, and me with them ;-)
Thanks to Samuel our dear cousin and architect, we made it happen. I doubt I would have put it out without him. It was one big DIY!!
Monday, December 17, 2012
Monday DIY- Wool felt donut
Christmas is around the corner and I have a few more things to make for the girls market stand that I am building with the help of Sam. This past Sunday was rainy so I took some time to make a couple little donuts out of pure wool felt and I created a DIY at the same time so all of you can try to make your own. First I was very inspired by my last post, then, I found a tutorial on youtube. It was really fun to make. All photos by me.
Here are all the materials needed to make your donut. 2 sheets of wool felt in different shades. I only work with pure wool, no synthetic but I guess that you can use whatever you want. Different shade embroidery floss for the sprinkles, a pair of sharp scissors, a circle of paper as template (mine was 3"), some pin needles as well as a medium size needle and some wool for stuffing.
Step 1: Pin the paper circle to your first sheet of wool felt and cut around. Do the same thing for the other color. Ps: You will need two light circles of wool to make the two sides of your donut.
Step 2: Put two circles of wool felt on top of each other
Step 3: Then fold in the center and pin them together leaving the center free for cutting. Cut the center as if you were cutting a circle. Your are now making the center of the donut.
Step 4: Repeat Step 2 and 3 with the darker felt using one of the felt circles that you just have made.
Step 5: Start by making a knot with the embroidery floss that matches the most your wool felt. Start stitching from the center, placing the knot inside the donut.
Step 6: Place both wool felt circles together and start stitching OVER the two layers.
Step 7 & 8: Cut your darkest felt to imitate the icing shape and start sewing the sprinkles. You can use beads but I did it with the cotton instead. Make all knots on the hidden side of the felt.
Step 9: With a matching cotton thread start sewing the icing to the donut.
Step 10 & 11: Start stitching the outer part of the donut using the same OVER stitch as shown in Step 6. Leave a zone unstitched so you can stuff the donut. Here with pure wool.
Step 12: Finish stitching and make a knot. Cut thread right after knot.
Here is a picture of the back. Nothing's perfect in Handmade but that's why we appreciate it more. I do!
Taa-daa!!!
Subscribe to:
Posts (Atom)